
What does it mean when VAC Was Unable to Verify the Game Session?
VAC (Valve Anti-Cheat) System is one of the protection techniques offered by game developers to protect users from unfair and ludicrous experiences, such as illicitly using cheat codes. VAC acts as a utility system adopted by popular virtual games. However, sometimes an error message pops up saying, ‘VAC was unable to verify the game session’. In this article, we will learn how to fix when CSGO says VAC Was Unable to Verify the Game Session.
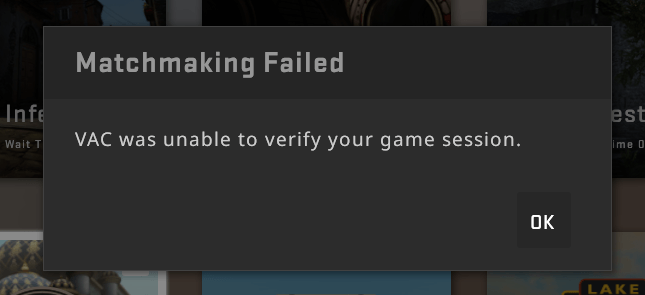
Why does CSGO say ‘VAC Was Unable to Verify the Game Session’?
As mentioned above, it is a bug that pops up during a virtual game session, such as while playing Counter-Strike: Global Offensive. The error generally means that the Valve Anti-Cheat system has failed, especially when Steam connects two virtual gamers in a matchmaking process. This is why CSGO says ‘VAC Was Unable to Verify the Game Session’.
How to fix CS:GO VAC Was Unable to Verify the Game Session bug?
When there is a bug, there is a troubleshooting solution. We have a few methods for you to try and get rid of the ‘VAC Was Unable to Verify the Game Session’ error to prevent from bothering your game experience.
1. Logout and login again
It may happen that the operating system must have undergone some incompatible change that led to the error message, ‘VAC Was Unable to Verify the Game Session’ popping up in mac PC and other devices. What you can do are logout and re-login.
- Run Steam on your device.
- Once the application opens, look for your profile name on the title bar at the top.
- Click on your profile name and choose from the dropdown menu, ‘Log out of my account’.
- Once successfully logged out, try logging in with your credentials again. See if that helps. If not, try the next method.
2. Repair the Steam application
There is a good probability that it is Steam causing all the troubles. It could be a corrupted file or improper configuration leading to such errors. You can repair Steam.exe by following the steps.
- Press the Windows logo key and R at the same time.
- The Run dialog box appears.
- Type ‘cmd’ in there and click on OK.
- Once the command prompt window appears, copy and paste the following link in there- “C:\Program Files (x86)\Steam\bin\SteamService.exe” /repair.
- Press enter to run the command.
- Now reboot your device for the new settings to take place.
- Launch Steam again and login with your credential details.
- See if the method helped to play the same game that you were interrupted before. If the error persists, try the next method.
3. Check integrity of the game files
Sometimes the game files are not compatible with the Steam distributors. Also, the external file could be a damaged or corrupted one resulting in the ‘VAC Was Unable to Verify the Game Session’ dialog. To check these files with the Steam client, follow-
- Launch Steam application on your PC.
- Click on Library present on top of the screen.
- A list of previously installed games will appear.
- Find the game which caused the bug and right-click on the game icon.
- A menu appears. Click on Properties.
- Then select the Local Files tab on the top of the window.
- Then choose ‘Verify integrity of the game files’ to begin the verification process.
- Once the process is finished, re-launch the game and see if the error persists.
4. Remove the game directory from the Antivirus scanning
At times, the antivirus software could be corrupted, damaged, or incompatible with the game directory. Normally when the antivirus software scans and repairs applications in the background, it may disrupt the VAC settings.
What you can do is remove Steam from the scanning process totally. In order to do that you have to change the settings of the antivirus software installed in your device and exclude the Steam application game directory from the scanning procedure.
5. Restart the device
If none of the above tricks you can always restart your device. Since VAC uses certain parts of the computer to complete its protecting mechanism, it may so happen that those parts are already used in external applications, such as your antivirus software running in the background. This results in the lack of availability of such requirements for VAC to perform its function efficiently. The simplest way to manage this is to restart the device and run Steam again.
6. Re-install CS-GO
This could be a quick fix given the rest of the methods fail to turn off the ‘CSGO VAC Was Unable to Verify the Game Session’ message popup. To reinstall-
- Open Steam application.
- Click on Library
- Right-click on ‘Counter-Strike: Global Offensive’
- Hit uninstall.
- A dialog box appears. Click on Delete.
- Once uninstalled, go to Steam store to reinstall CS:GO.
- Reinstalling CS:GO should help you fix the error.
Conclusion
It is annoying to be interrupted especially when you are in the middle of an amazing game experience. The VAC Was Unable to Verify the Game Session 2021 bug is mostly a technical error, one which could be fixed by any of the above-mentioned methods. Hopefully, one of the fixes works for you and helps you restore the gaming experience.


